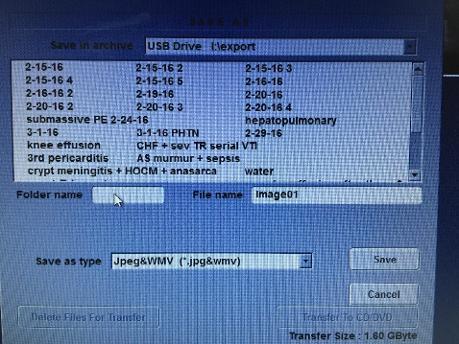
Saving Images from the Hard Drive to a USB Drive
Saving to a USB
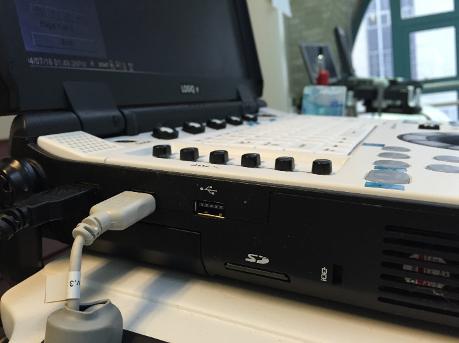
Step 1. Insert USB drive
GE LogiQ e has a total of 3 USB ports on the left side of the unit. 2 of them are occupied by peripheral equipment – please do not unplug these.
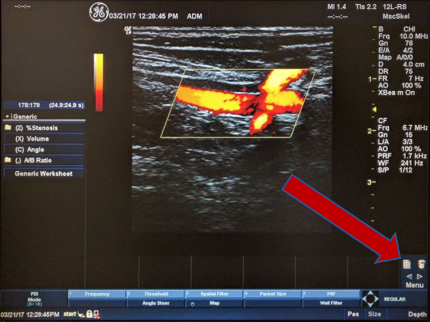
Step 2. Get into the the clip menu which is shown on the right. There are several ways of getting here.
If you are already looking at the study you want to download to USB drive…
put cursor on the grid icon in the RL corner. Then click ENTER button.
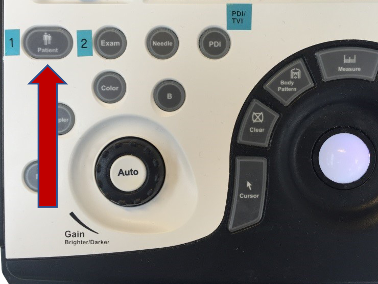
In any other situation click “patient” button. This will open Patient Menu.
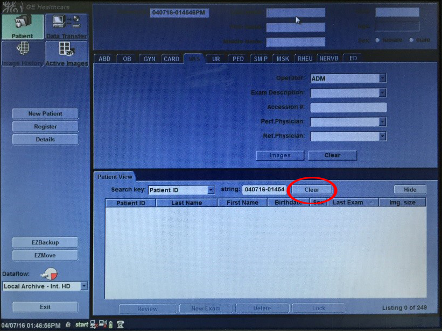
If the patient you are looking for is not displayed, clear patient ID field. Click ENTER button.
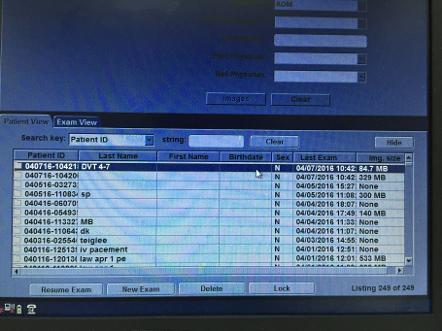
Patient menu should be displayed. Select your patient. Click ENTER button.
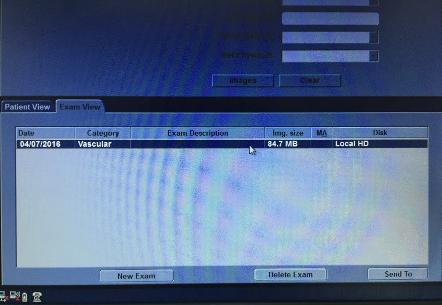
Study menu will open. Select your study and click ENTER button.
Clip menu will open.
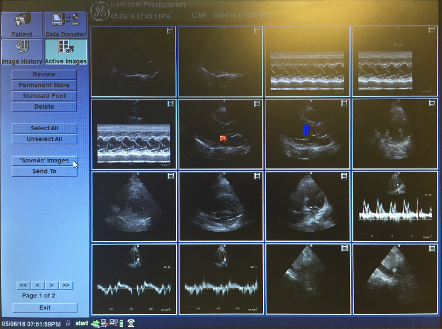
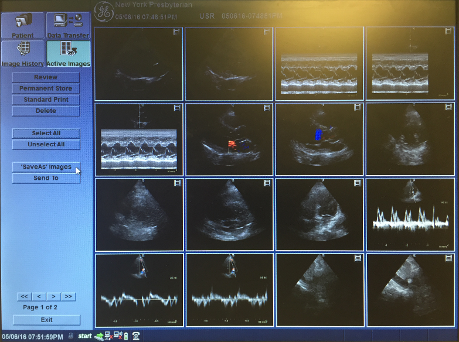
Step 3. Select individual clips you want to download by putting a cursor over them and clicking the ENTER button.
Or select ALL IMAGES by putting cursor over Select All button and clicking ENTER button.
Note that there may be more than one page of clips.
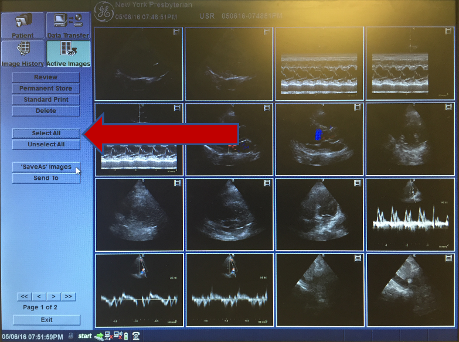
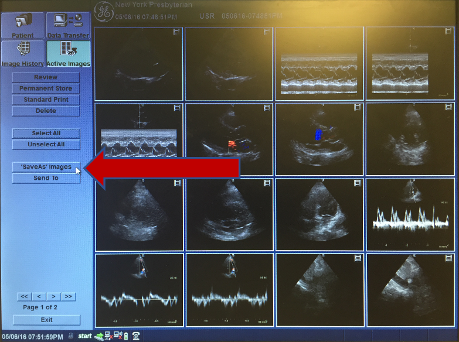
Step 4. Select “Save as Images” and click ENTER button.
Step 5. Select USB DRIVE from the drop-down menu. Click ENTER button.
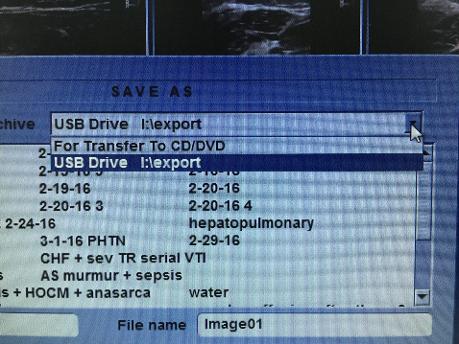
Step 6. Type in a Folder Name for your clips. Select Save and click the ENTER button.
Note that if the folder name you chose is “illegal,” the save button will become grayed-out.
